Advanced Editing
Once you have set up all the basic things that your map requires , you should test it for obvious errors or the not so obvious errors.
When you have done this its time to advance to the next step.
1 . Preparing your map for the scenario editor.
The scenario editor relies on extra information from the map editor in order to set up certain triggers.
For this purpose you can create Mission Zone's and Mission Group's.
1.1 Mission Zone's
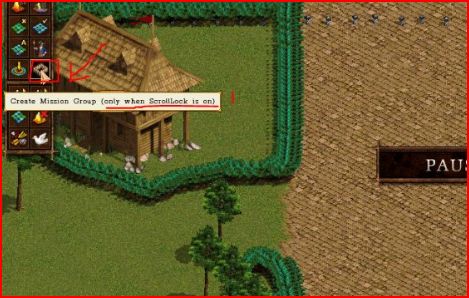
You first have to enable Scroll Lock ( on your keyboard ).
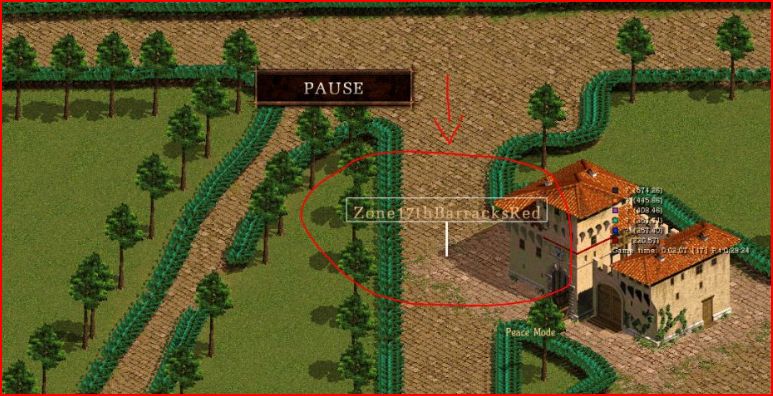
Then hit the Mission Zone icon as show below ( 1) . Move your mouse to the middle ( 2) . A new window (3)will pop up where you can type the name of the zone. Keep these names logic so you know what they mean in the scenario editor.

Once you clicked ok the zone name will appear on the map :
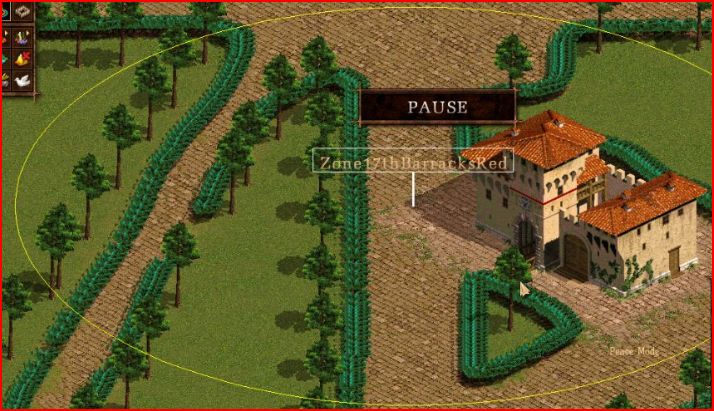
You can easily increase the size of the zone. You can always select the zone again by clicking on it and adjust it to your needs.
2. Mission Groups
Again you first have to enable Scroll lock in order for this function to work.
This time you first have to select a set of buildings or units ( or mixed) with your mouse. These objects will form the mission group.
Click on the Mission Group Icon as shown below and move your mouse to the middle. A new window will pop up. Fill out the name of the group.
After you clicked ok the name of the group should be shown above the rectangle:
