1.15.2 Other Formations
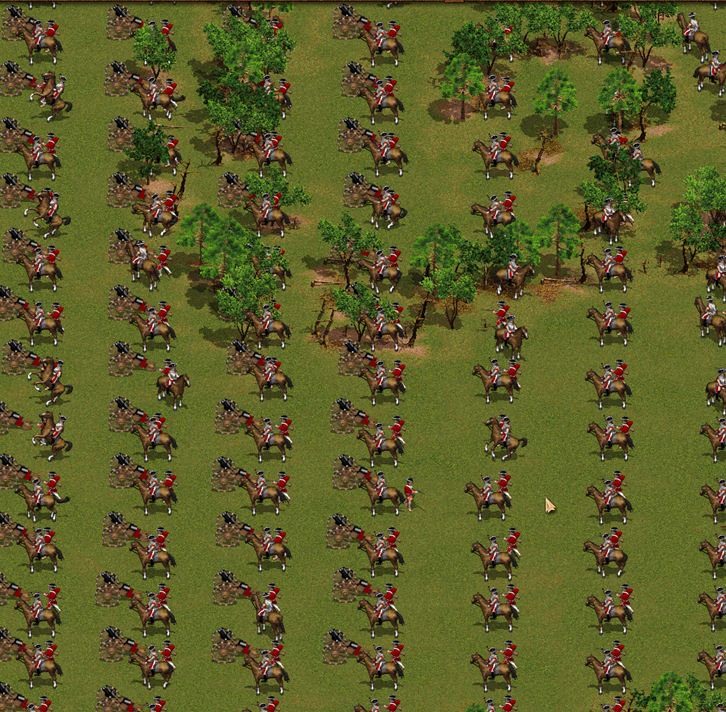
This is probably one of the first lessons in the tutorial, but one of the least-used features in multiplayer Cossacks. A quick review of the bonuses given by formations shows that an infantry unit gets +3 defense and a melee unit gets an additional +2 attack. The +3 defense is the cheapest and most effective counter to 17th gunpowder. Also, the AI is MUCH better at targeting enemy units when in formation, eliminating the clustering effect caused when a human player selects dozens of units and targets a single enemy unit. This extra efficiency alone is worth the cost and trouble of assigning an officer to a formation. Nearly every unit-pairing in the Battle Simulator reveals outcomes that can be completely reversed with the use of formations. In fact, the only time formations shouldn't be used is on long marches. On long marches it is best to send a few officers/drummers with the units, then put them into formation once they arrive at their destination.
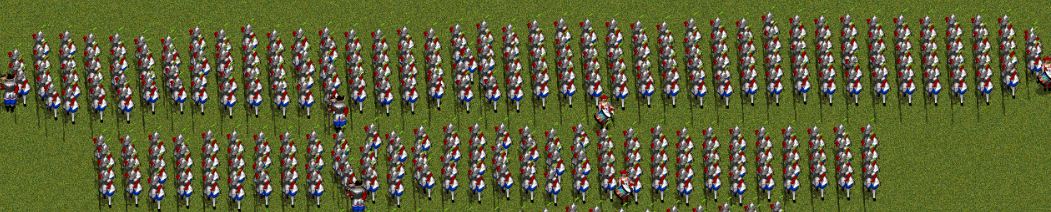
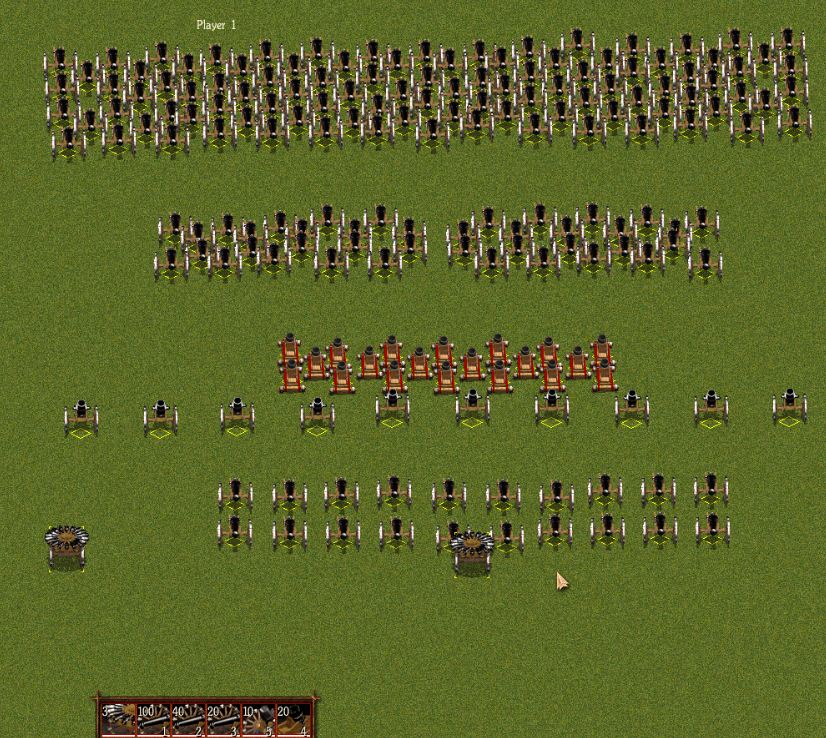
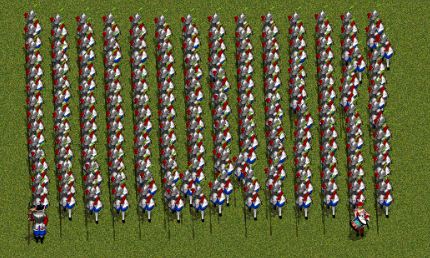
Rank (Line) formations place your men in a row with the drummer and officer standing behind their men. These formations are good for defense, they spread out as many men as possible while maintaining a defensive line. It will take a large concentrated enemy force to break this line, as when attacked the line simply stays strong and encloses on the enemy not allowing them to push forward or escape. Effective use of these formations in strategic spots can be used to kill enemy units twice and three times their size. The attack and defense bonuses come to great use here. The bonuses themselves are often times over looked and ignored because of the time it takes to organize a formation. However, these bonuses are well worth the effort it takes to organize a formation, as they are unstoppable unless the enemy significantly outnumbers you in men and cannon. Combining two rank formations of pikemen to form an arrow shape is a highly effective tactic that can destroy enemy lines very easily. When the point of the arrow hits the enemy the enemy will have to form around the rest of the arrow formation allowing the point to push through, and the ends of the arrow to outflank the rest of the enemy.

Square Formations
Square formations are excellent for area saturation and attack. Square formations are the most efficient for putting as many men as possible in an area. Area saturation is best used when attacking troops without cannon. Simply saturating an area will easily have your enemy overwhelmed. However, if the enemy has cannon, he can simply grapeshot you to your death. Using grapeshot against square formations is like bowling with a large boulder, whatever you hit is a pancake. When deployed in rows, square formations will work much like rank formations, only increasing the amount of men you have in an area. Square formations are good with any number or type of men, small or large, as the effectiveness is basically the same with any number of men.
Box formations are the best type of formation to use when encountering heavy cannon and grapeshot fire. When hit with grapeshot, most of the unit is still alive, along with the officer and drummer. The cannons will have to reload, and even though you have lost men, the rest can still achieve their attack objective of overwhelming and capturing the cannon. This formation is also good for defending against cannon, as the cannon cannot hit many of your men at one time, and may even miss completely and hit the area in the middle of the formation. When using this formation for attacking, point one of the tips of the box at the enemy and march, double quick. The formation will work just like two rank formations forming an arrow, only on a smaller scale. Calvary too will have problems with attacking and flanking this formation simply because so many of your men cover such a large area.